NLog to provide custom tracing for your ASP.NET
Posted By: Ajay Saptaputre, 15 Oct,2015 | Total View : 4027

In this article I am going to discuss how to map form posted request data to controller's specific action method. How FormCollection object help us to access the posted data in controller action method.
In my previous articles, I have been using Entity Framework and entities. Where entities are mapped to the database tables and ORM tools like EF to automatically generate data access model class to retrieve and save data.
In this article I am going to discuss how to map form posted request data to controller's specific action method in ASP.NET MVC 5 application to save data into the database. I will also discuss what is the various techniques to receive posted data in controller action method. The commonly used technique to receive posted data is using FormCollection object. Being an ASP.NET MVC developer you know that strongly type view right? Strongly typed view tightly bound with specific object entity and maps each attribute with page controls name. In order to check, run application and just right click on rendered page. You can see that each controls name strongly associate with each attribute of entity object.
When post such view to the server it sends the entire attribute in the form of controls name. ASP.NET MVC 5 allows us to receive posted data in variety of form. We can receive posted data as simple parameter or as entity object. I will include all the possible ways in sample example code.
Before creating ASP.NET MVC application let's first create database table with columns and data. This table would be used to save the employee information.
CREATE TABLE [Employee](
	[id] [int] IDENTITY(1,1) NOT NULL,
	[Name] [varchar](50) NULL,
	[Designation] [varchar](100) NULL,
	[Gender] [varchar](10) NULL,
	[Salary] [float] NULL,
	[City] [varchar](50) NULL,
	[State] [varchar](50) NULL,
	[Zip] [int] NULL
 CONSTRAINT [PK_Employee] PRIMARY KEY CLUSTERED
(
	[id] ASC
)WITH (PAD_INDEX  = OFF, STATISTICS_NORECOMPUTE  = OFF, IGNORE_DUP_KEY = OFF,
ALLOW_ROW_LOCKS  = ON, ALLOW_PAGE_LOCKS  = ON) ON [PRIMARY]
) ON [PRIMARY]
In order to save and retrive the data into the database table "Employee" we need stored procedures. So let's create stored procedures and execute into the SQL Server 2008. Note here, we are not creating parameter for "id" column because "id" is an identity column which is going to be auto computed.
CREATE PROCEDURE [dbo].[uspInsertEmployee]
(@name varchar(50),
@designation varchar(50),
@gender varchar(10),
@salary float,
@city varchar(50),
@state varchar(50),
@zip int
)
AS
BEGIN
	-- SET NOCOUNT ON added to prevent extra result sets from
	-- interfering with SELECT statements.
	SET NOCOUNT ON;

    -- Insert statements for procedure here
    INSERT INTO Employee(Name,Designation,Gender,Salary,City,State,Zip)
    VALUES (@name,@designation,@gender,@salary,@city,@state,@zip)
END
GO
CREATE PROCEDURE [dbo].[uspGetEmployee]
AS
BEGIN
    -- SET NOCOUNT ON added to prevent extra result sets from
    -- interfering with SELECT statements.
    SET NOCOUNT ON;
    SELECT * from Employee

END
All right, database table and stored procedure are ready for action. Now start creating ASP.NET MVC 5 project in VS 2013.
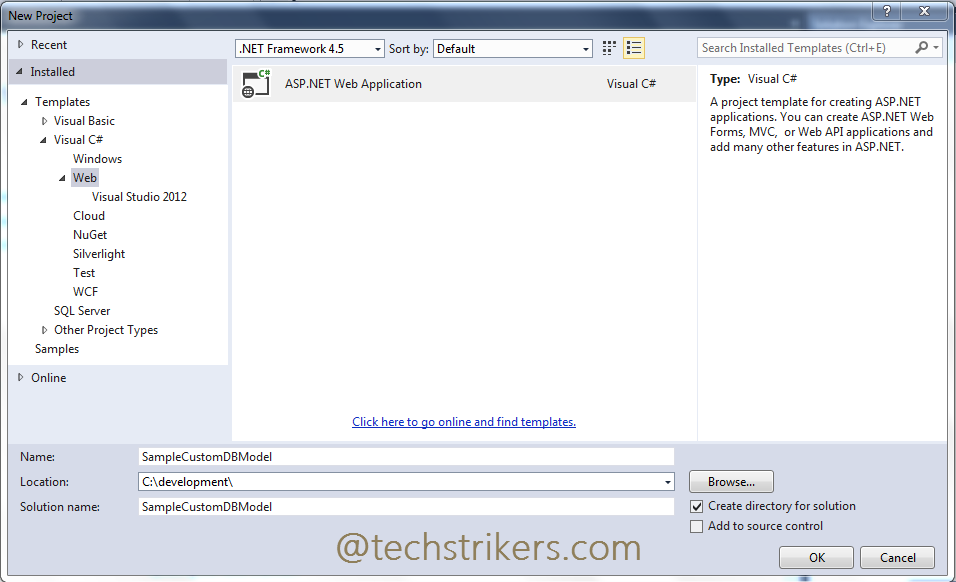
Step 1: Start Visual studio 2013, click on "New" Project from "File" menu and select "Web" and then "ASP.NET web application" from "New Project". I am selecting .Net framework 4.5 to build this sample application. All right, now give proper name as "MVCFormCollection" to your application and click "Ok" button as below screen shot illustrate:
Step 2: Once done, you will see another window which asked to select "Template". Select "Empty" and checked "MVC" then click on "Ok" button as bellow screen shot illustrate:
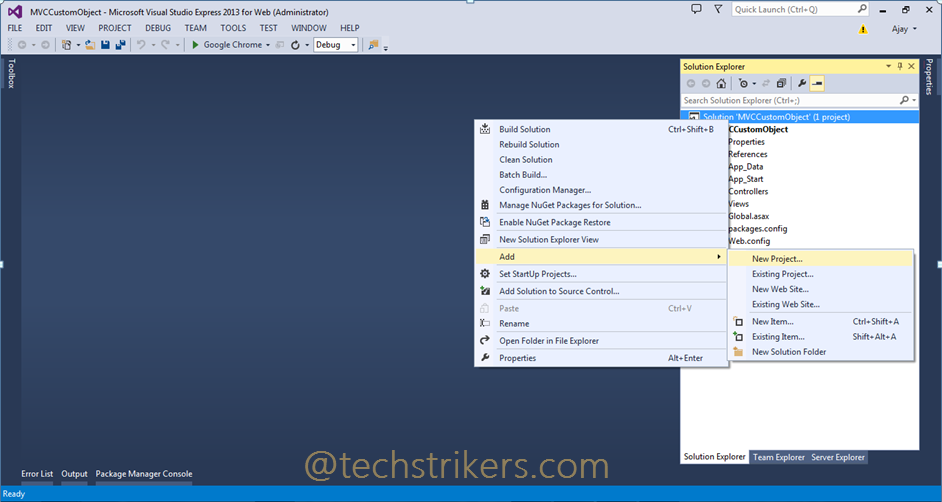
Step 3: Now right click on solution and select "Add" and then "New Project". .
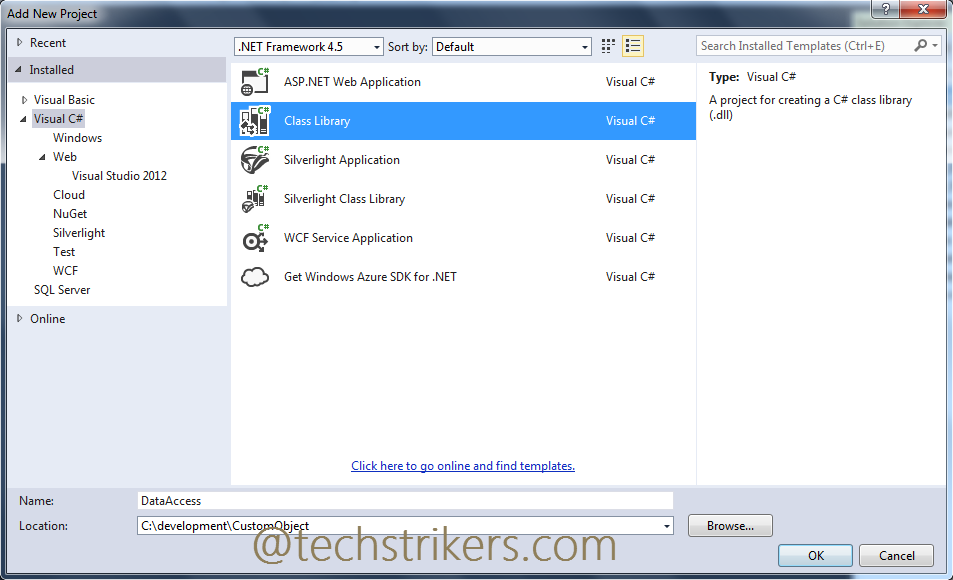
Step 4: Now, select "Visual C#" and then select "Class Library". Give proper name to library and click "Ok" button. This will add new project in our solution. Rename new class as "DataAccessLayer" and save the project.
Step 5: Add below code to the "DataAccessLayer" class.
using System;
using System.Collections.Generic;
using System.Data;
using System.Data.SqlClient;
using System.Linq;
using System.Text;
using System.Configuration;

namespace DataAccessLayer
{
public class DataAccessLib
{
	public List GetEmployees
	{
		get
		{
string con = ConfigurationManager.ConnectionStrings["SampleDBConnection"].ToString();
			SqlConnection sql_conn = new SqlConnection(con);
			sql_conn.Open();
			List empList = new List();
			Employee emp;
			SqlDataReader reader = null;
			DataTable dt_scheduled_appts = new DataTable();
			using (SqlCommand sql_command = new SqlCommand("uspGetEmployee", sql_conn))
			{
				sql_command.CommandType = CommandType.StoredProcedure;
				sql_command.Parameters.Clear();
				reader = sql_command.ExecuteReader();

				while (reader.Read())
				{
					emp = new Employee();
					emp.Id = Convert.ToInt32(reader["id"]);
					emp.Name = reader["Name"].ToString();
					emp.Designation = reader["Designation"].ToString();
					emp.Gender = reader["Gender"].ToString();
					emp.Salary = Convert.ToDouble(reader["Salary"]);
					emp.City = reader["City"].ToString();
					emp.State = reader["State"].ToString();
					emp.Zip = reader["Zip"].ToString();
					empList.Add(emp);
				}
				return empList;
			}
		}

	}

	public void AddEmployees(Employee emp)
	{
string con = ConfigurationManager.ConnectionStrings["SampleDBConnection"].ToString();
		SqlConnection sql_conn = new SqlConnection(con);
		sql_conn.Open();
		using (SqlCommand sql_command = new SqlCommand("uspInsertEmployee", sql_conn))
		{
			sql_command.CommandType = CommandType.StoredProcedure;
			sql_command.Parameters.Clear();
			sql_command.Parameters.AddWithValue("@name", emp.Name);
			sql_command.Parameters.AddWithValue("@designation", emp.Designation);
			sql_command.Parameters.AddWithValue("@gender", emp.Gender);
			sql_command.Parameters.AddWithValue("@salary", emp.Salary);
			sql_command.Parameters.AddWithValue("@city", emp.City);
			sql_command.Parameters.AddWithValue("@state", emp.State);
			sql_command.Parameters.AddWithValue("@zip", emp.Zip);
			sql_command.ExecuteNonQuery();
		}

	}

 }
}
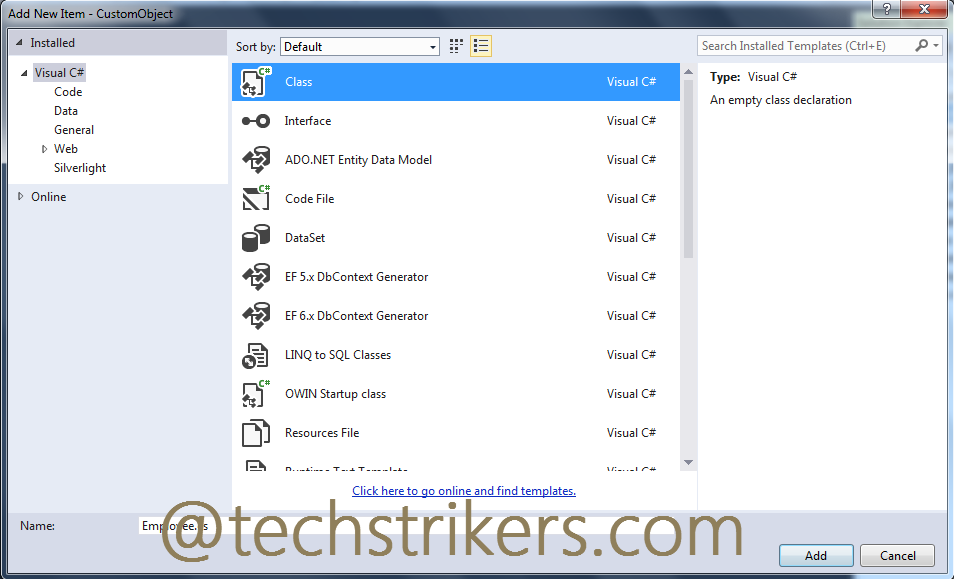
Step 6: We will need a class that will used to map our database table called "Employee", so let's add another class into the project and name it "Employee". All right, now add properties to the class as below.
using System;
using System.Collections.Generic;
using System.Linq;
using System.Text;
using System.Threading.Tasks;

namespace DataAccessLayer
{
    public class Employee
    {
        public int Id { get; set; }
        public string Name { get; set; }
        public string Designation { get; set; }
        public string Gender { get; set; }
        public double Salary { get; set; }
        public string City { get; set; }
        public string State { get; set; }
        public string Zip { get; set; }
    }
}
Step 7: Build the data access library and set reference to ASP.NET MVC project that we have created.
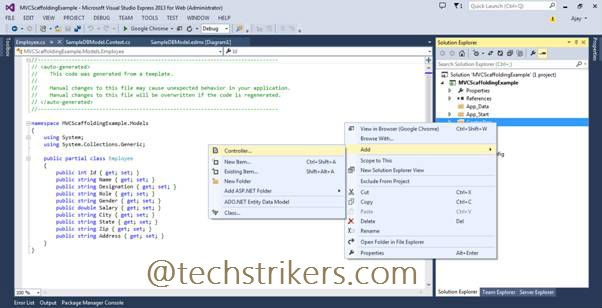
Step 8: Now go to our ASP.NET MVC project and right click on "Controllers" folder and select empty from options and click "Add" button.
Step 9: Add below action method to the controller to save the data to the database. You can see here controller methods decorated with "HttpPost" attribute which tell to the controller this method will response to the post operation. Notice that I have created three action method "formCollection" which is using "FormCollection" object to receive posted data, the another method "employeeObject" which is using "Employee" object as parameter and the third one "usingParameter" which is using separate parameter for each "Employee" attribute.
So what is "FormCollection" contains; it contains data that is present in the form. This "FormCollection" object is going to receive them in the form of key-value pairs. All three action methods doing the same operation, receiving form posted data and saving into the data base. At the end I am redirecting user to "Index" action method. I have commented out two methods, for testing you can uncomment one by one and test the example code.
using DataAccessLayer;
using System;
using System.Collections.Generic;
using System.Linq;
using System.Web;
using System.Web.Mvc;

namespace MVCFormCollection.Controllers
{
    public class EmployeeController : Controller
    {
        //
        // GET: /Employee/
        public ActionResult Index()
        {
             DataAccessLib db = new DataAccessLib();
             return View(db.GetEmployees);
        }
		[HttpGet]
        public ActionResult Create()
        {
            return View();
        }
        [HttpPost]
        [ActionName("Create")]
        public ActionResult formCollection(FormCollection formCollection)
        {
            Employee emp = new Employee();
            DataAccessLib db = new DataAccessLib();
            emp.Name = formCollection["Name"];
            emp.Designation = formCollection["Designation"];
            emp.Gender = formCollection["Gender"];
            emp.Salary = Convert.ToDouble(formCollection["Salary"]);
            emp.City = formCollection["City"];
            emp.State = formCollection["State"];
            emp.Zip = formCollection["Zip"];
            db.AddEmployees(emp);
            return RedirectToAction("Index");
        }

        //[HttpPost]
        //[ActionName("Create2")]
        //public ActionResult employeeObject(Employee emp)
        //{
        //    DataAccessLib db = new DataAccessLib();
        //    db.AddEmployees(emp);
        //    return RedirectToAction("Index");
        //}

        //[HttpPost]
        //[ActionName("Create3")]
        //public ActionResult usingParameter(string name, string designation,
		//string gender, double salary, string city, string state, string zip)
        //{
        //    Employee emp = new Employee();
        //    DataAccessLib db = new DataAccessLib();
        //    emp.Name = name;
        //    emp.Designation = designation;
        //    emp.Gender = gender;
        //    emp.Salary = salary;
        //    emp.City = city;
        //    emp.State = state;
        //    emp.Zip = zip;
        //    db.AddEmployees(emp);

        //    return RedirectToAction("Index");
        //}
	}
}
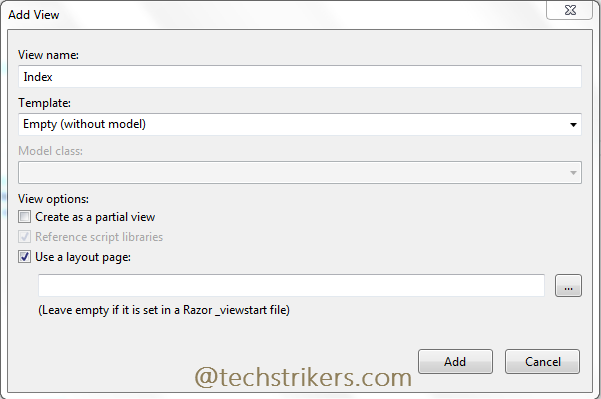
Step 10: Now, right click on "Create" method from controller and select "Add View" from popup menu. Select "Template" as empty and click "Add" button. Add below code to the "Create" view.
@model DataAccessLayer.Employee

@{
    ViewBag.Title = "Create";
}

<h2>Create</h2>
@using (Html.BeginForm())
{
    <fieldset>
        <legend>Employee</legend>

        <div class="editor-label">
            @Html.LabelFor(model => model.Name)
        </div>
        <div class="editor-field">
            @Html.EditorFor(model => model.Name)
            @Html.ValidationMessageFor(model => model.Name)
        </div>

        <div class="editor-label">
            @Html.LabelFor(model => model.Designation)
        </div>
        <div class="editor-field">
            @Html.EditorFor(model => model.Designation)
            @Html.ValidationMessageFor(model => model.Designation)
        </div>

        <div class="editor-label">
            @Html.LabelFor(model => model.Gender)
        </div>
        <div class="editor-field">
            @Html.EditorFor(model => model.Gender)
            @Html.ValidationMessageFor(model => model.Gender)
        </div>

        <div class="editor-label">
            @Html.LabelFor(model => model.Salary)
        </div>
        <div class="editor-field">
            @Html.EditorFor(model => model.Salary)
            @Html.ValidationMessageFor(model => model.Salary)
        </div>

        <div class="editor-label">
            @Html.LabelFor(model => model.City)
        </div>
        <div class="editor-field">
            @Html.EditorFor(model => model.City)
            @Html.ValidationMessageFor(model => model.City)
        </div>

        <div class="editor-label">
            @Html.LabelFor(model => model.State)
        </div>
        <div class="editor-field">
            @Html.EditorFor(model => model.State)
            @Html.ValidationMessageFor(model => model.State)
        </div>

        <div class="editor-label">
            @Html.LabelFor(model => model.Zip)
        </div>
        <div class="editor-field">
            @Html.EditorFor(model => model.Zip)
            @Html.ValidationMessageFor(model => model.Zip)
        </div>
        <p>
            <input type="submit" value="Create" />
        </p>
    </fieldset>
}
<div>
    @Html.ActionLink("Back to List", "Index")
</div>
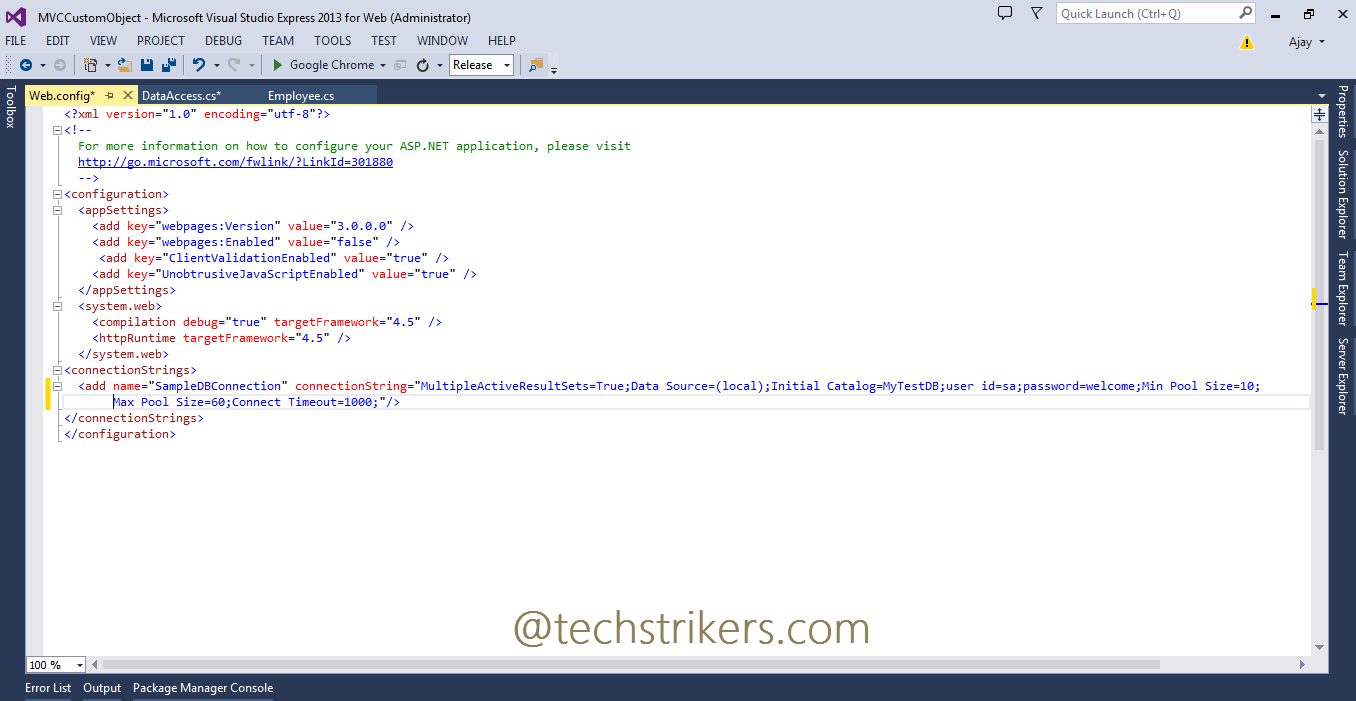
Step 11: Now right click on project and build the application. Open web.config file and add connection string to connect to the database as below screen shot:
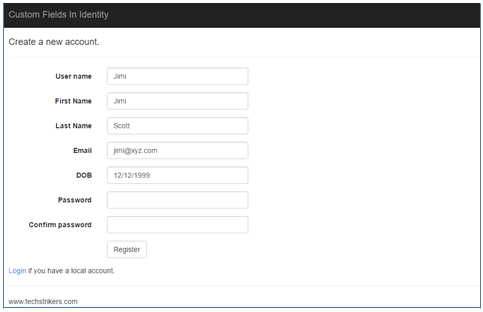
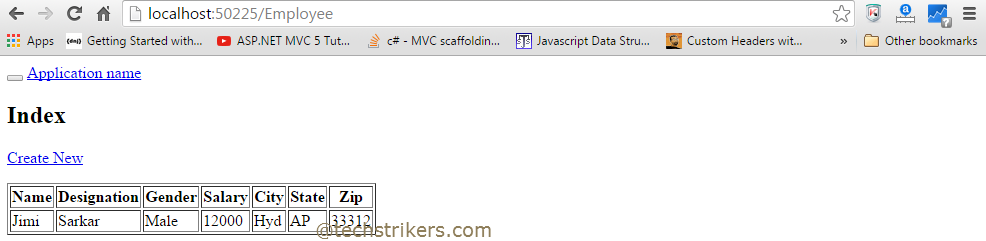
Step 12: All right, now run the application and change the URL "https://localhost/Employee/Create". Insert all the fields and click on "Create" button. This will execute the "Create" action method with attribute "HttpPost" and save data into the database. It also redirect user to "Index" action method which will display all the employees from "Employee" table.
Appreciate your valuable feedback:
I hope this article is useful for you. I look forward for your comments and feedback. So please provide your valuable feedback so that I can make this blog better. You can also share this article by hitting below button.
Happy learning...