How to install C Language
Installing C language on your computer is a simple process, but it may vary depending on the operating system you are using. Here, we will provide step-by-step instructions for installing C on Windows, Mac, and Linux.
Installing C on Windows
Step 1: Download Turbo C++ Setup
The first step to installing C on Windows is to download a C compiler. Download the Zip file of the latest version of Turbo C++ from the download link given below.DOWNLOAD TURBO C++
Step 2: Extract Zip File
Now extract zip file contents into the root of the Turbo C++ folder.
Step 3: Install the Turbo C++
After extracting the Turbo C++ compiler, run the "install.exe" file and follow the on-screen instructions to install it on your computer. Be sure to select the "C Compiler" option during the installation process.
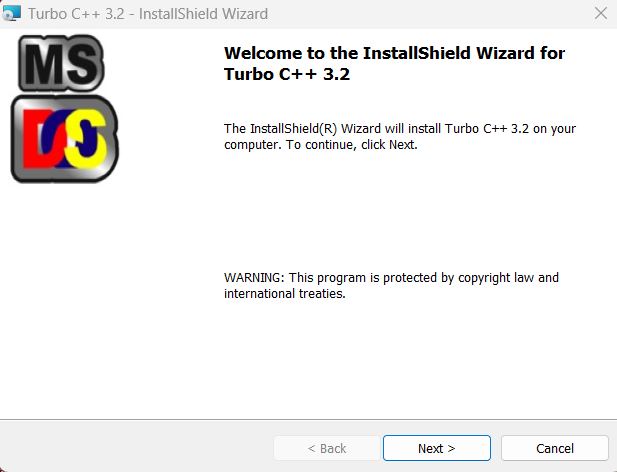
Now click on Next button
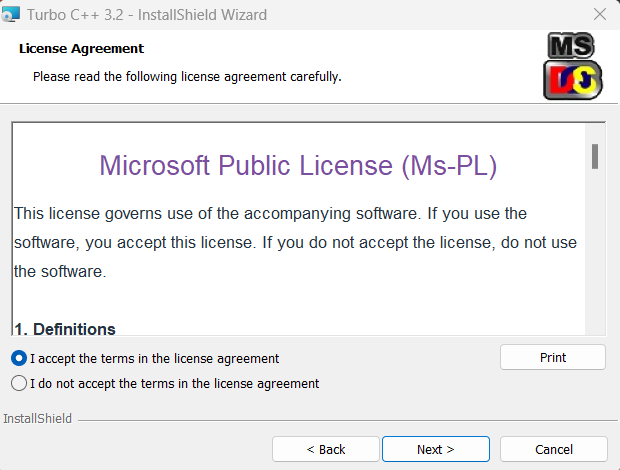
Now accept the license agreement and click on next button
Now accept the license agreement and click on next button

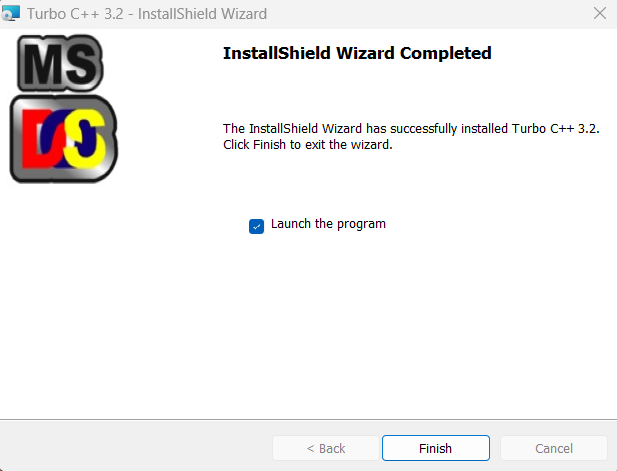
Check "Launch the Program" and click "finish" button. Now Turbo C++ is installed on your computer and ready for your first c++ programm.
Launch the program by double-clicking on the Turbo C++ icon on your desktop or by searching for Turbo C++ in the Start menu.
Launch Turbo C++ - After installing Turbo C++, launch the program by double-clicking on the Turbo C++ icon on your desktop or by searching for Turbo C++ in the Start menu.
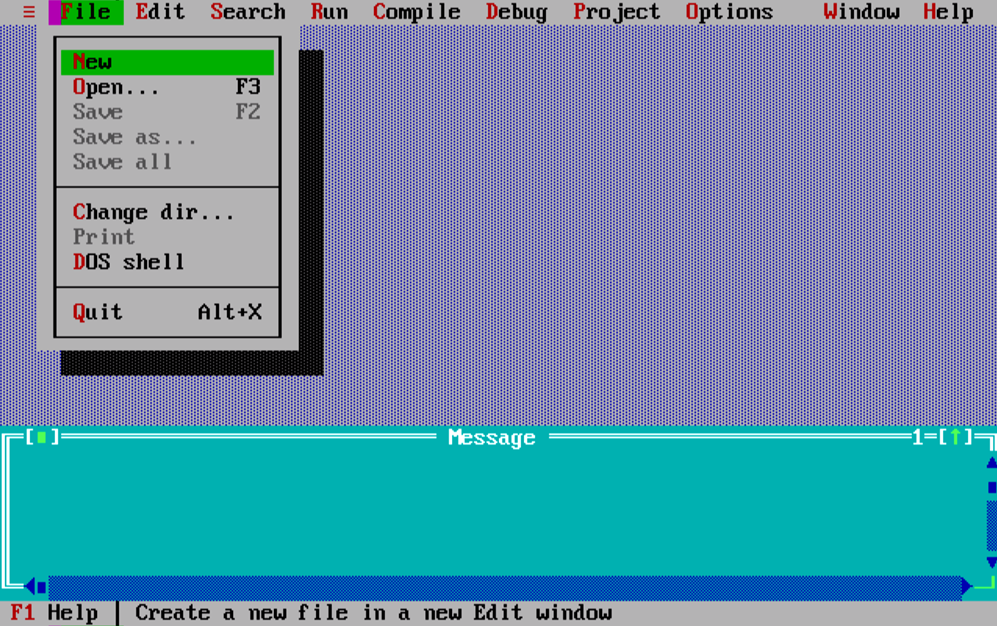
Create a New Project - To create a new project, go to the File menu and select New Project. In the New Project window, select "Console Application" and click on the OK button.
Write the Code - In the Turbo C++ editor window, write the code for your C program. For example, here's a simple program that prints "Hello, world!" to the console:
Compile and Run the Program - To compile and run the program, go to the Run menu and select "Compile" or press the F9 key. If there are no errors in your code, the program will be compiled and the output will be displayed in the Turbo C++ console window. To run the program, go to the Run menu and select "Run" or press the Ctrl+F9 key.
Installing C on Mac:
Step 1: Install Xcode
To install C on a Mac, you need to first install Xcode, which is Apple's development environment. To download Xcode, visit the App Store and search for Xcode. Click on the "Get" button to download and install Xcode on your computer.
Step 2: Install Command Line Tools
After installing Xcode, you need to install the command line tools. Open a terminal window and type "xcode-select --install". Follow the on-screen instructions to install the command line tools.
Step 3: Verify Installation
To verify that the C compiler is installed correctly, open a terminal window and type "gcc -v". This should display the version of the C compiler that is installed on your computer.
Installing C on Linux:
Step 1: Install the Build-Essential Package
To install the C compiler on a Linux system, you need to install the build-essential package. Open a terminal window and type "sudo apt-get install build-essential". Follow the on-screen instructions to install the build-essential package.Step 2: Verify Installation
To verify that the C compiler is installed correctly, open a terminal window and type "gcc -v". This should display the version of the C compiler that is installed on your computer.